
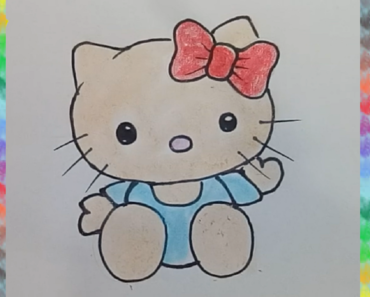
How to draw hello kitty easy with this how-to video and step-by-step drawing instructions. how to draw step by step for kids
Please see the drawing tutorial in the video below
Step 1
Start by drawing a large circle.
Step 2
Draw two rounded triangles at the top of the circle to form the ear.
Step 3
Remove the path from below the ear.
Step 4
Draw a circle under one ear. From each side of the circle, extend a curve to enclose an irregular shape. This will form the Hello Kitty bow.
Step 5
Remove paths from inside the arc.
Step 6
Draw an irregular shape, enclosed underneath and overlapping the head. The shape will look like an oval with a flat bottom edge.
Step 7
In shape, draw a long curve parallel to one side. Extend a horizontal curve from one line to the opposite side of the shape. Then, extend the two curves down from the middle of the horizontal line.
Step 8
Remove the paths around the body.
Step 9
On one side of the body, just below the head, draw an oval. Allows a curve extending from the bottom of the oval, forming a thumb.
Step 10
Draw a curve on the opposite side, stretching from the top to the middle of the body. Again, allow the curve to form the shape of the thumb.
Step 11
Draw a curve below the neck, and another line on each arm.
Step 12
Remove the path from the arm.
Step 13
Draw two curves, parallel on the trunk.
Step 14
From the lines, extend a wavy curve. This enclosure will form the outfit of Hello Kitty.
Step 15
Remove the path from the foot and the skirt.
Step 16
Draw two curves, parallel on each leg.
Step 17
Draw another curve at the bottom of each leg.
Step 18
Draw two circles and an oval in the middle of your face to form the eyes and nose. Round ball.
Step 19
Use the curves, paint the beard extending from each side of the face. Attach an unusual oval on each side of the knot.
Step 20
Hello Kitty color. Do not forget that her favorite color is pink!
You can refer to the instructions on how to draw a whale with video and step by step guide on htdraw.com
